Le 07/07/2023
written by Alice O.
How do I apply my car headlight tinting film?
The easy, economical way to tint your car lights.
With Variance Autoit's now possible to personalize the look of your car with tinted car headlight film.
By installing the tinted film yourself, you're guaranteed to change the look of your headlamps at lower cost.
Find out in this step-by-step guide how to successfully apply your tinted headlight films!
And if you're more comfortable with videos, see the end of this article.
Check that the installation conditions are suitable.
The recommended installation temperature is at least +10°C. We recommend installation in a closed room, sheltered from wind and dust.
Next, make sure you have all the materials you need to carry out the installation correctly:
- Soapy water;
- Sponge;
- Sprayer;
- Isopropyl alcohol;
- Soft cloth;
- Wiping pad;
- Maroufle;
- Cutter;
- Precision squeegee;
- Heat gun;
- Thermal protection glove.
Meticulous headlight cleaning
To successfully apply your tinted headlamp film, it's essential to clean and degrease the surface.
- Clean your fires with soapy water and a sponge;
- Degrease headlamps with isopropyl alcohol and a soft cloth. Be careful not to leave any impurities in the grooves;
- Wipe off any streaks or drips with a clean, dry cloth;
- Finish cleaning with a wiper pad to remove any residual dust particles.
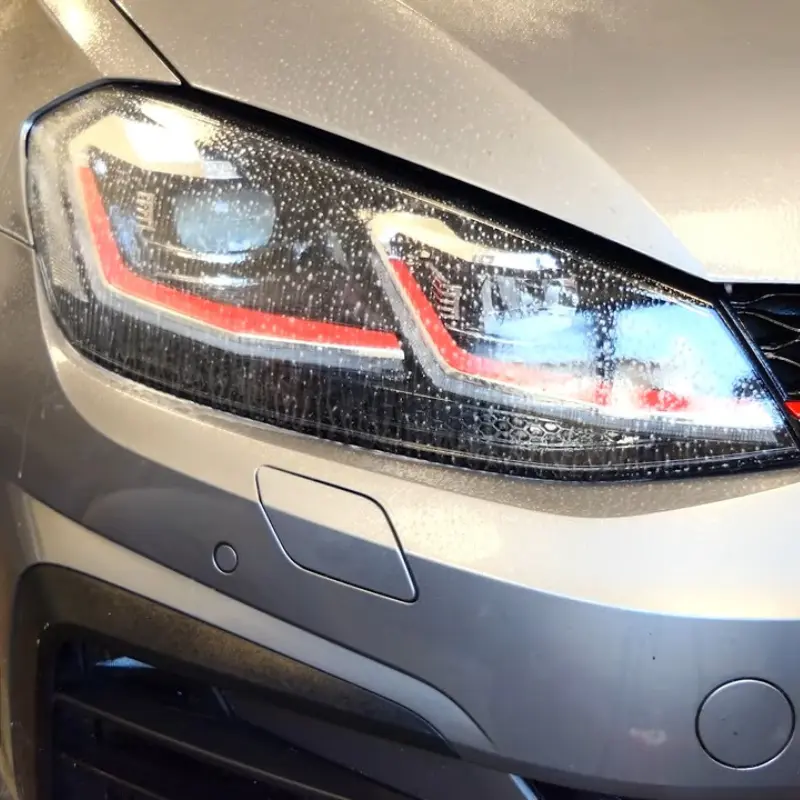
Don't forget the edges of the lights! Dust and dirt can hide there, and settle on the adhesive film.
For OPTI-65: Apply your film with a dry application method
- First remove the transparent liner (film side), then the cardboard liner (adhesive side);
- Apply the film dry to the headlamp, then reposition it little by little to adjust it and smooth it out as much as possible on the light;
- Finish stretching the film and heating it with a heat gun, so that the film conforms to the shape of the lighthouse.
The adhesive features a structured"airflow" glue. As long as the film is not crushed by the squeegee, you can remove it and stretch it well. This is useful for eliminating tunnels.
For OPTI-62: Apply your film with a water-based applicator
- Prepare the film by removing the cardboard liner on the adhesive side;
- Spray the adhesive part of the film and the headlight with soap solution;
- Apply the film to the lighthouse, working from the inside out. This is important to flush out water and bubbles under the film;
- For complex shapes, use a heat gun or hair dryer to soften the film. Don't hesitate to stretch the film during thermoforming.
Tip: Wet your fingers before handling the film, to avoid snagging. This will make application more pleasant.
Tip n°2: To remove the protective liner easily, place two pieces of scotch tape on each side and stick them together. By separating them, the protective liner will remain attached to one of them.
Finish the installation
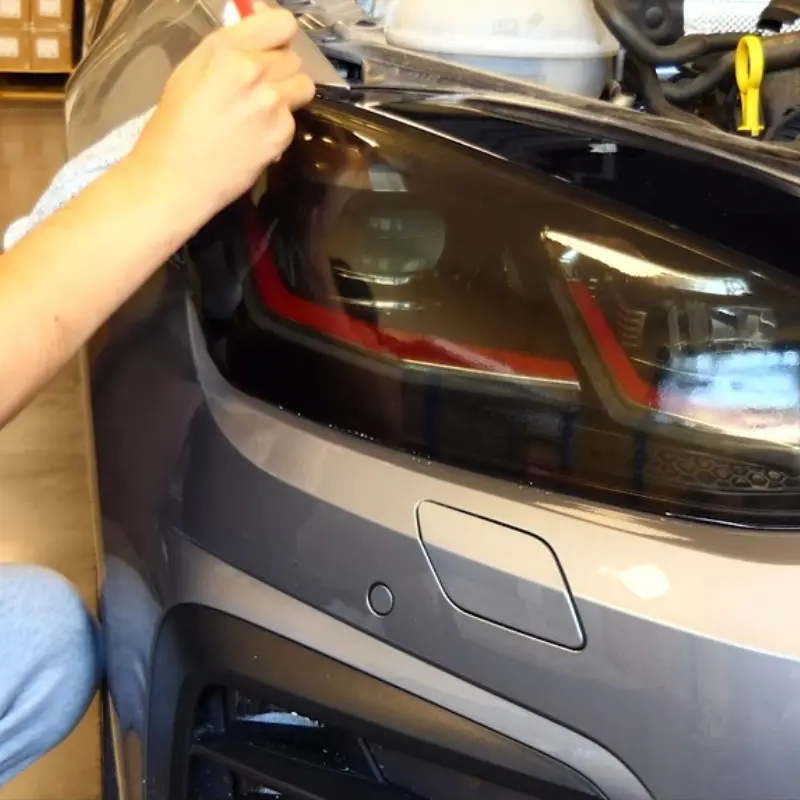
Once the lighthouse film is in place, lightly tap it again to remove any remaining air bubbles, always from the center outwards.
Then cut off the excess film using a cutter with a new blade, to avoid damaging the vehicle's bodywork/optics.
Maintenance: headlamp film is resistant to most chemical agents (alcohol, petrol, diluted acids, oils, fuels), but cleaning with soapy water is recommended. Headlamp film can be removed at any time without leaving any traces or residues.
Note: Due to its winding tension, PET liner and high transparency, slight moiré marks may be visible before the film is applied. If these marks are still visible after application, they can be reduced by heating the film very slightly with a heat gun
