Le 12/01/2024
written by Alice O.
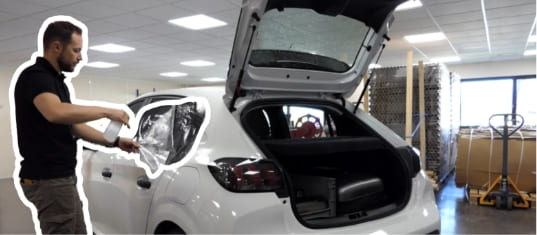
How do I put wrapping on a rear-view mirror?
Follow these steps to successfully install wrapping on retro!
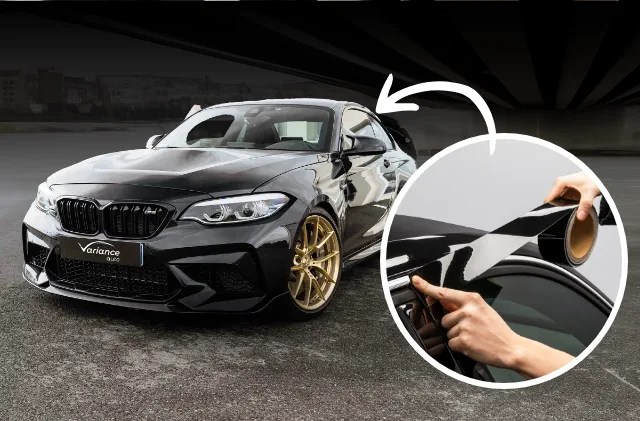
Looking to give your car a makeover with wrapping ? Great idea! If you need tips on how to successfully apply wrapping to a rear-view mirror, then you've come to the right place.
Follow our advice below, and don't hesitate to watch the video!
Equipment to bring along
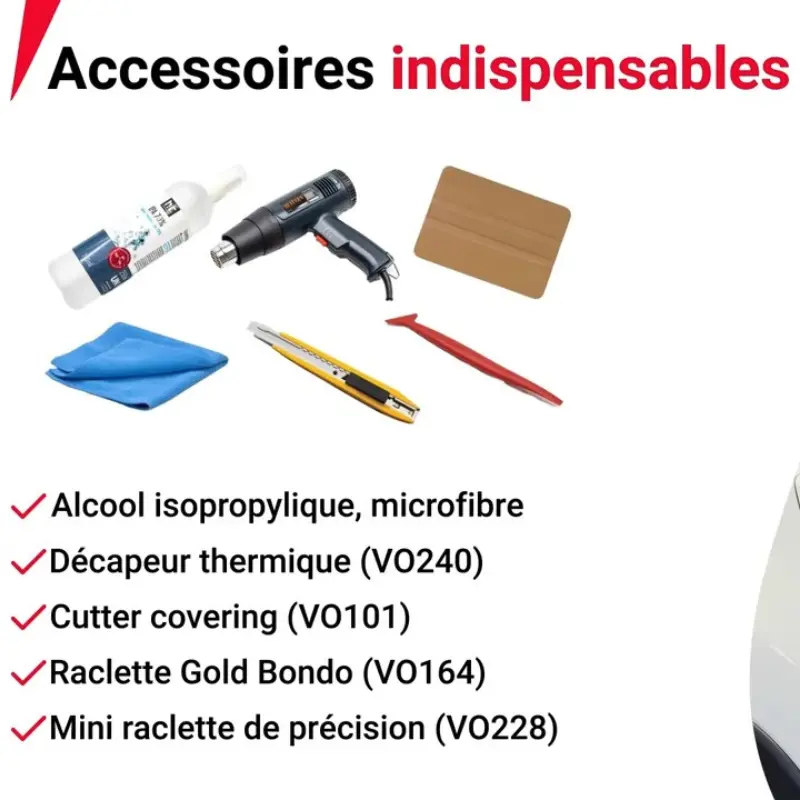
To successfully wrapping your rearview mirror during your wrapping car project, make sure you have the necessary equipment. Here are those recommended by Variance Auto :
- Isopropyl alcohol
- Soft microfiber cloth
- Thermal scraper
- Cutter wrapping
- Maroufle Bondo
- Precision mini scraper
- A piece of wrapping 3D (about 2x the size of the retro)
Also, be sure to install in a sheltered spot, at room temperature (between 15°C and 25°C). Dust should not disturb you during installation.
Tuto: How to successfully install wrapping on a rearview mirror
Clean and degrease the surface
Dust and grease prevent the adhesive from bonding properly.
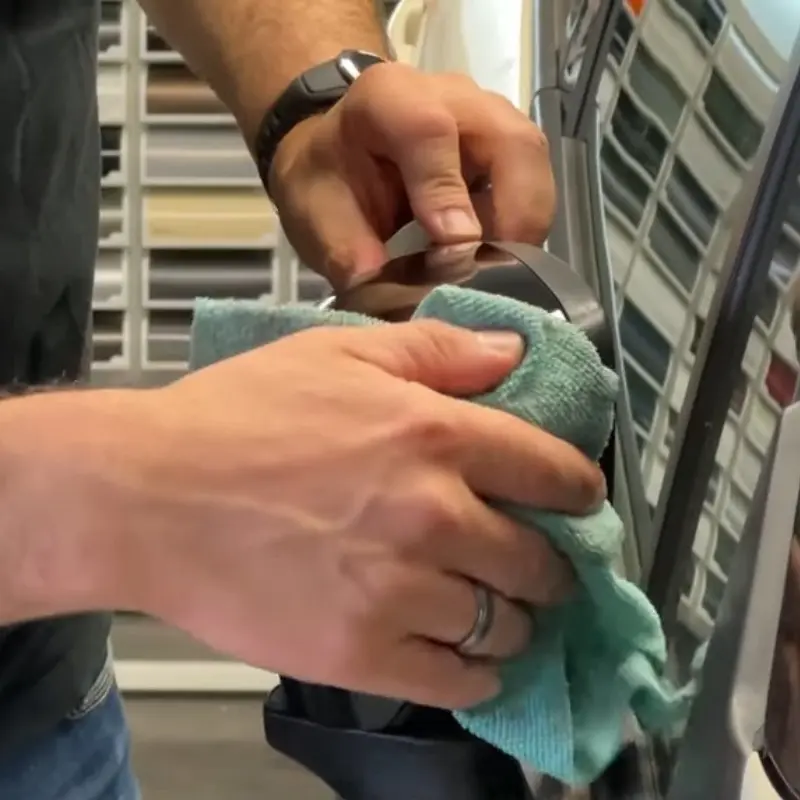
To ensure that your wrapping adheres well and lasts longer, be sure to clean the surface with isopropyl alcohol and a microfiber cloth.
Insist on the edges and hollows! 🧼
Tip: For hard-to-reach areas, wrap a squeegee around the microfiber. You'll remove dirt more easily.
Check the dimensions of your wrapping
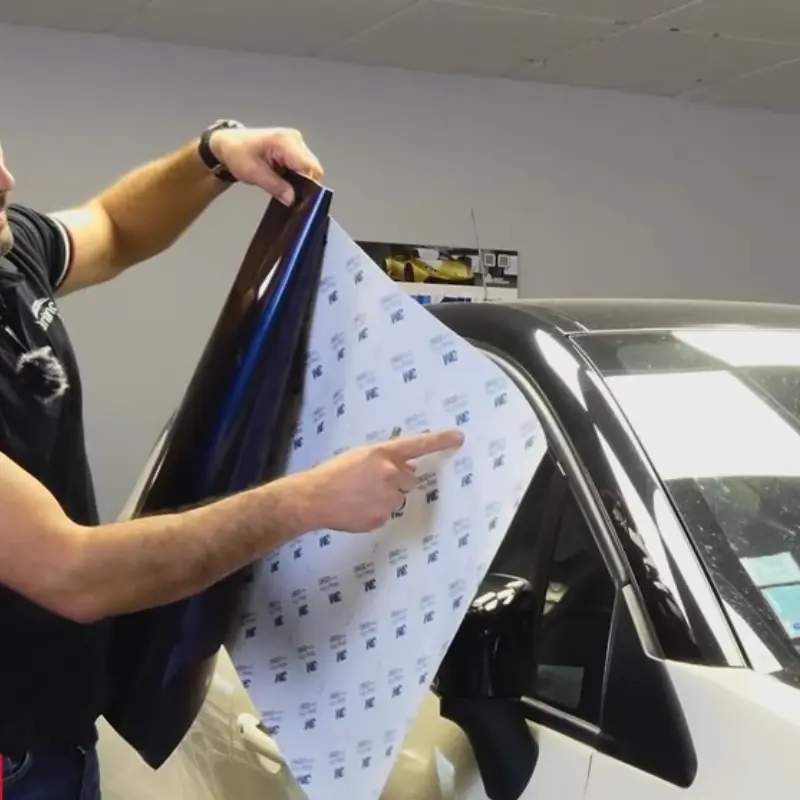
Your wrapping mirror must be large enough. There are two ways to make sure:
- Measure the mirror with a flexible tape measure, and add 10cm on each side.
- Check that the wrapping part is at least 2 times the size of the support.
Choose your preferred method! 😉 And don't forget that you have markings on the protective film: they correspond to about 10cm between each mark. This will help you calculate the part you have in your hands.
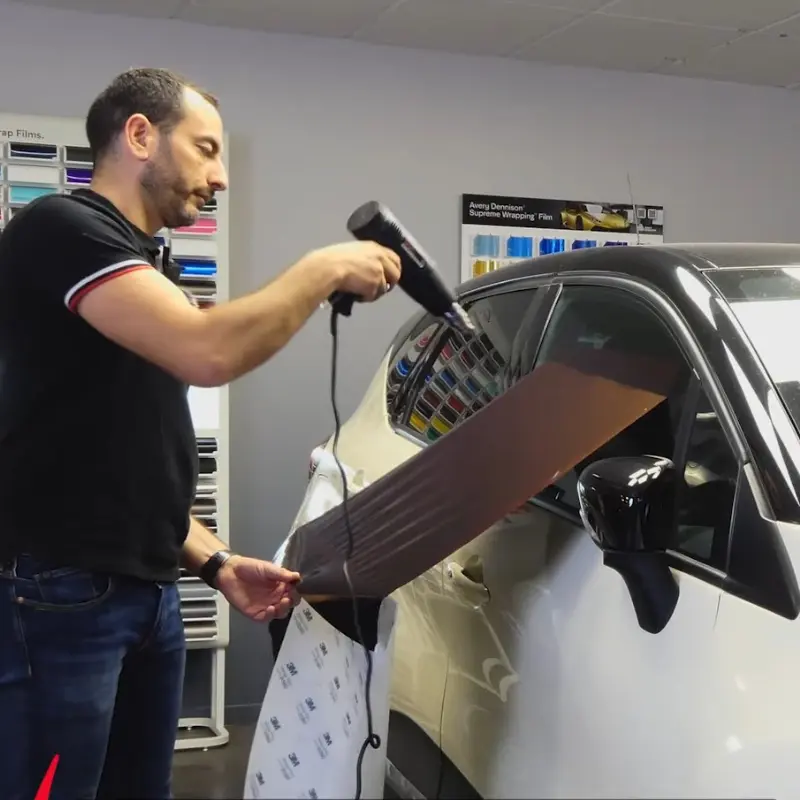
Prepare your wrapping by heating it
For one-piece application, it is necessary to deform wrapping before laying. If you skip this step, you run the risk of making creases or bubbles.
To do this, use your (clean) glass.
- Remove 10cm of the protective liner on one side,
- Glue the "bare" part of wrapping to the glass,
- Remove about 80% of the remaining liner,
- Pull the wrapping down while heating it with the heat gun to stretch it,
- Remove the entire liner, and glue the lower part to the glass to repeat the operation in reverse,
- Stretch the corners, too, and heat the film from bottom to top, left to right.
The aim here is tostretch the film in both directions. Once your wrapping film is properly stretched, it's ready to be installed. 👍
Caution: Don't over-pull, and don't overheat either, to avoid puncturing the wrapping ! Be patient and attentive.
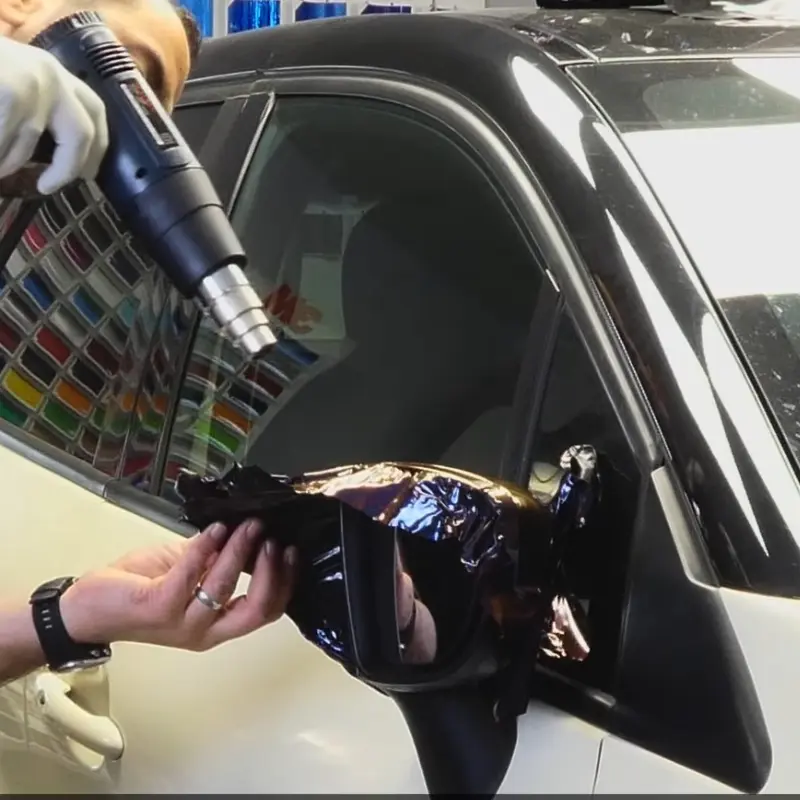
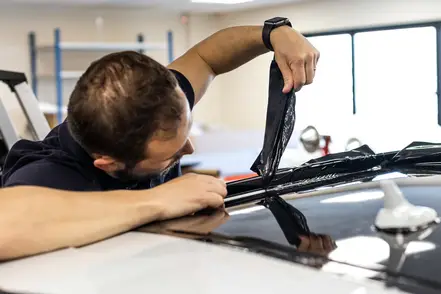
Apply your wrapping to the rear-view mirror
- Before applying, allow the film to cool for a few seconds.
- Start applying the film - without using the heat gun.
- Evenly distribute the creases using your squeegee and fingers.
- On the edges of the mirror, warm up the wrapping to soften it. The wrapping will retract slightly. Don't stretch it: just gently guide it into place!
- Repeat this heating action on both sides of the mirror. Don't hesitate to roughen the cut for greater ease.
- Using a squeegee, finish the application on the edge of the mirror.
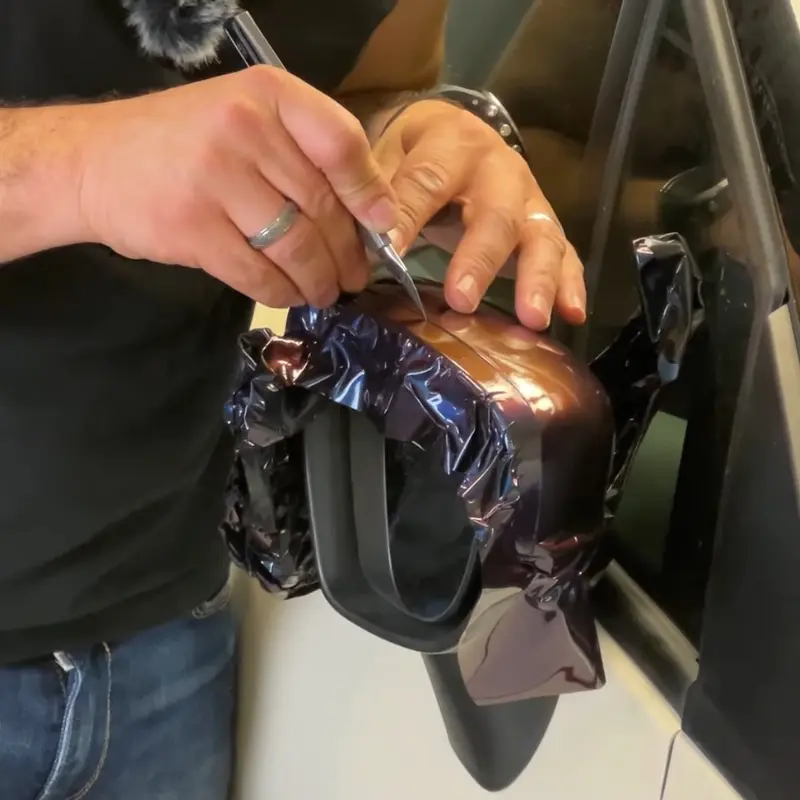
Cut off the excess wrapping
Trim excess film from around the mirror, as well as any cuts in the recesses.
Using the precision squeegee, press in hard-to-reach areas to ensure wrapping adheres well everywhere.
Tip: Use a new cutter blade for a clean, precise cut.
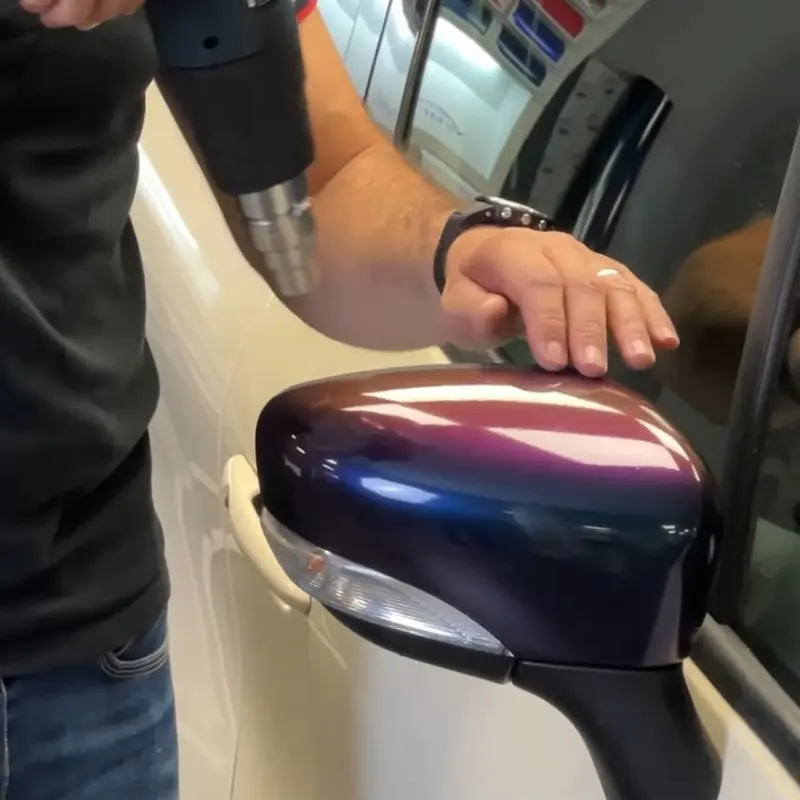
The final touches
Finish the installation by heating the applied wrapping with the heat gun.
Try to make circular movements without stopping, to "sweep" the mirror. Never stay on a fixed point.
And voila, your rearview mirror is as good as new thanks to its new wrapping ! 🔥
