Le 25/01/2024
written by Lisa P.
How to install a tinted film kit on a rear window
Apply pre-cut and thermoformed tinted film
Installing tinted film on a car's rear window isn't at all complicated. However, you'll need to be patient and meticulous, and follow a few simple steps. In this article, you'll find all the steps you need to take to achieve bubble- and streak-free results, plus our tips and tricks!
Watch this video to find out how to apply tinted film to a rear window!
Step 1: Prepare the glass
Clean your rear window properly with a sponge andsoapy water, then dry it with a soft, clean cloth.

For perfect, dust-free cleaning, don't hesitate to use a wiper pad.
Step 2: Apply the tinted film
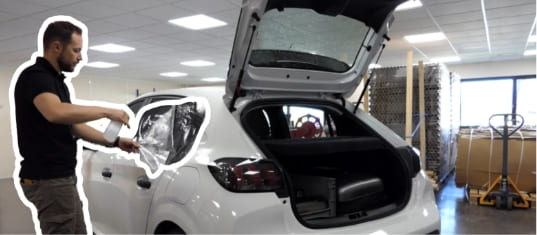
Spray the entire pane with soapy water, then separate the protective liner from the tinted film using 2 pieces of scotch tape applied opposite each other at an angle. Wet your fingers to remove the protective film from the auto-tinted film.
Unfold the film while spraying it with soapy water (this neutralizes the glue) and place it on the bezel, then start taping. Trim the film to the contours of the glass and complete the "H" shape.
Marouflage tip: marouflage is done in three main stages.
- Start by taping from the middle to the 2 ends;
- Then marouflage the edges, starting from the middle of the film and working your way to the edges. Your taping movements should overlap so as not to leave any untapped space;
- Finish with the middle part of the bezel, always troweling from the center to the edges.
Step 3: Finish the installation
Wrap the maroufle in a dry cloth, then iron over the tinted film gently to dry and absorb the water. You're done!


