Le 25/01/2024
rédigé par Lisa P.
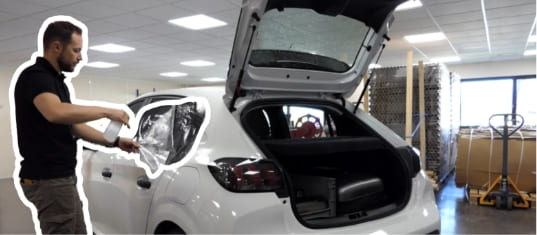
Tuto de pose d'un kit film teinté sur lunette arrière
Appliquez un film teinté pré-découpé et thermoformé
La pose d'un film teinté sur une lunette arrière de voiture n'a rien de bien compliqué. Néanmoins, vous devrez vous armer de patience et de minutie, tout en suivant quelques étapes. Dans cet article, retrouvez toutes ces étapes afin d'obtenir un résultat sans bulles ni traces et nos conseils et astuces !
Découvrez en vidéo comment poser du film teinté sur une lunette arrière !
Etape 1 : Préparez la vitre
Nettoyez correctement votre lunette arrière grâce à une éponge et à de l'eau savonneuse puis séchez la vitre avec un chiffon doux et propre.

Pour un nettoyage parfait et sans poussière, n'hésitez pas à utiliser un tampon d'essuyage.
Etape 2 : Appliquez le film teinté
Pulvérisez toute la vitre d'eau savonneuse puis séparez le liner de protection du film teinté à l'aide de 2 morceaux de scotch appliqués l'un en face de l'autre dans un angle. Mouillez vos doigts afin de retirer la pellicule de protection du film teinté auto.
Dépliez le film tout en pulvérisant de l'eau savonneuse (cela neutralise la colle) dessus et placez-le sur la lunette, puis commencez à maroufler. Ajustez le film aux contours de la vitre et terminez le marouflage en "H".
Astuce marouflage : le marouflage se fait en trois étapes principales.
- Commencez par maroufler du milieu vers les 2 extrémités ;
- Ensuite, marouflez les bords, en partant du milieu du film jusqu’aux bords. Vos mouvements de marouflage doivent se chevaucher afin de ne laisser aucun espace non marouflé ;
- Finissez par la partie du milieu de la lunette, en marouflant toujours du centre vers les bords.
Etape 3 : Terminez la pose
Enveloppez la maroufle dans un chiffon sec, puis repassez sur le film teinté doucement pour le sécher et absorber l'eau. C'est terminé !